
How to Get Found
(or not get lost in the first place)
By Lauren Skonieczny | March 21, 2025

Follow this advice to give you and your local Search and Rescue team the best chance for a great day outdoors with a happy ending.
As spring approaches, more and more Americans are preparing to get outdoors on the trails, waters, and ridges of our public lands. At the same time, search and rescue teams - both professional and volunteer - are ramping up to field calls from lost and injured adventurers.
Estimates vary, but of the 600,000 Americans that are reported lost each year, a significant portion goes missing in our forests and wildlands. Of the tens of thousands of hikers, boaters, and climbers who are lost each year, approximately 75% require rescue from SAR teams.
Why Do People Get Lost?
There are many reasons why someone may find themselves in need of rescue. Most subjects simply lose their way - getting turned around when they venture off trail to see a viewpoint or taking a wrong turn at a confusing intersection. Alternatively, washouts, blowdowns, and out-of-date maps often lead hikers off track and result in emergency callouts. Experienced outdoorspeople and newcomers alike can all find themselves in need of rescue when unforeseen circumstances arise such as adverse weather, injury, or natural disaster.

Even the most experienced outdorospeople can find themselves lost outdoors. Photo by James Wheeler.
One of the best ways to set yourself up for a successful experience is by preparing in advance and familiarizing yourself with these tips on what to do to if you do get lost.
Prevention is Key
Of course, the best way to make sure you come home safe is to not get lost in the first place. While you can never completely eliminate this risk when traveling outdoors, you can mitigate it through thorough preparation.
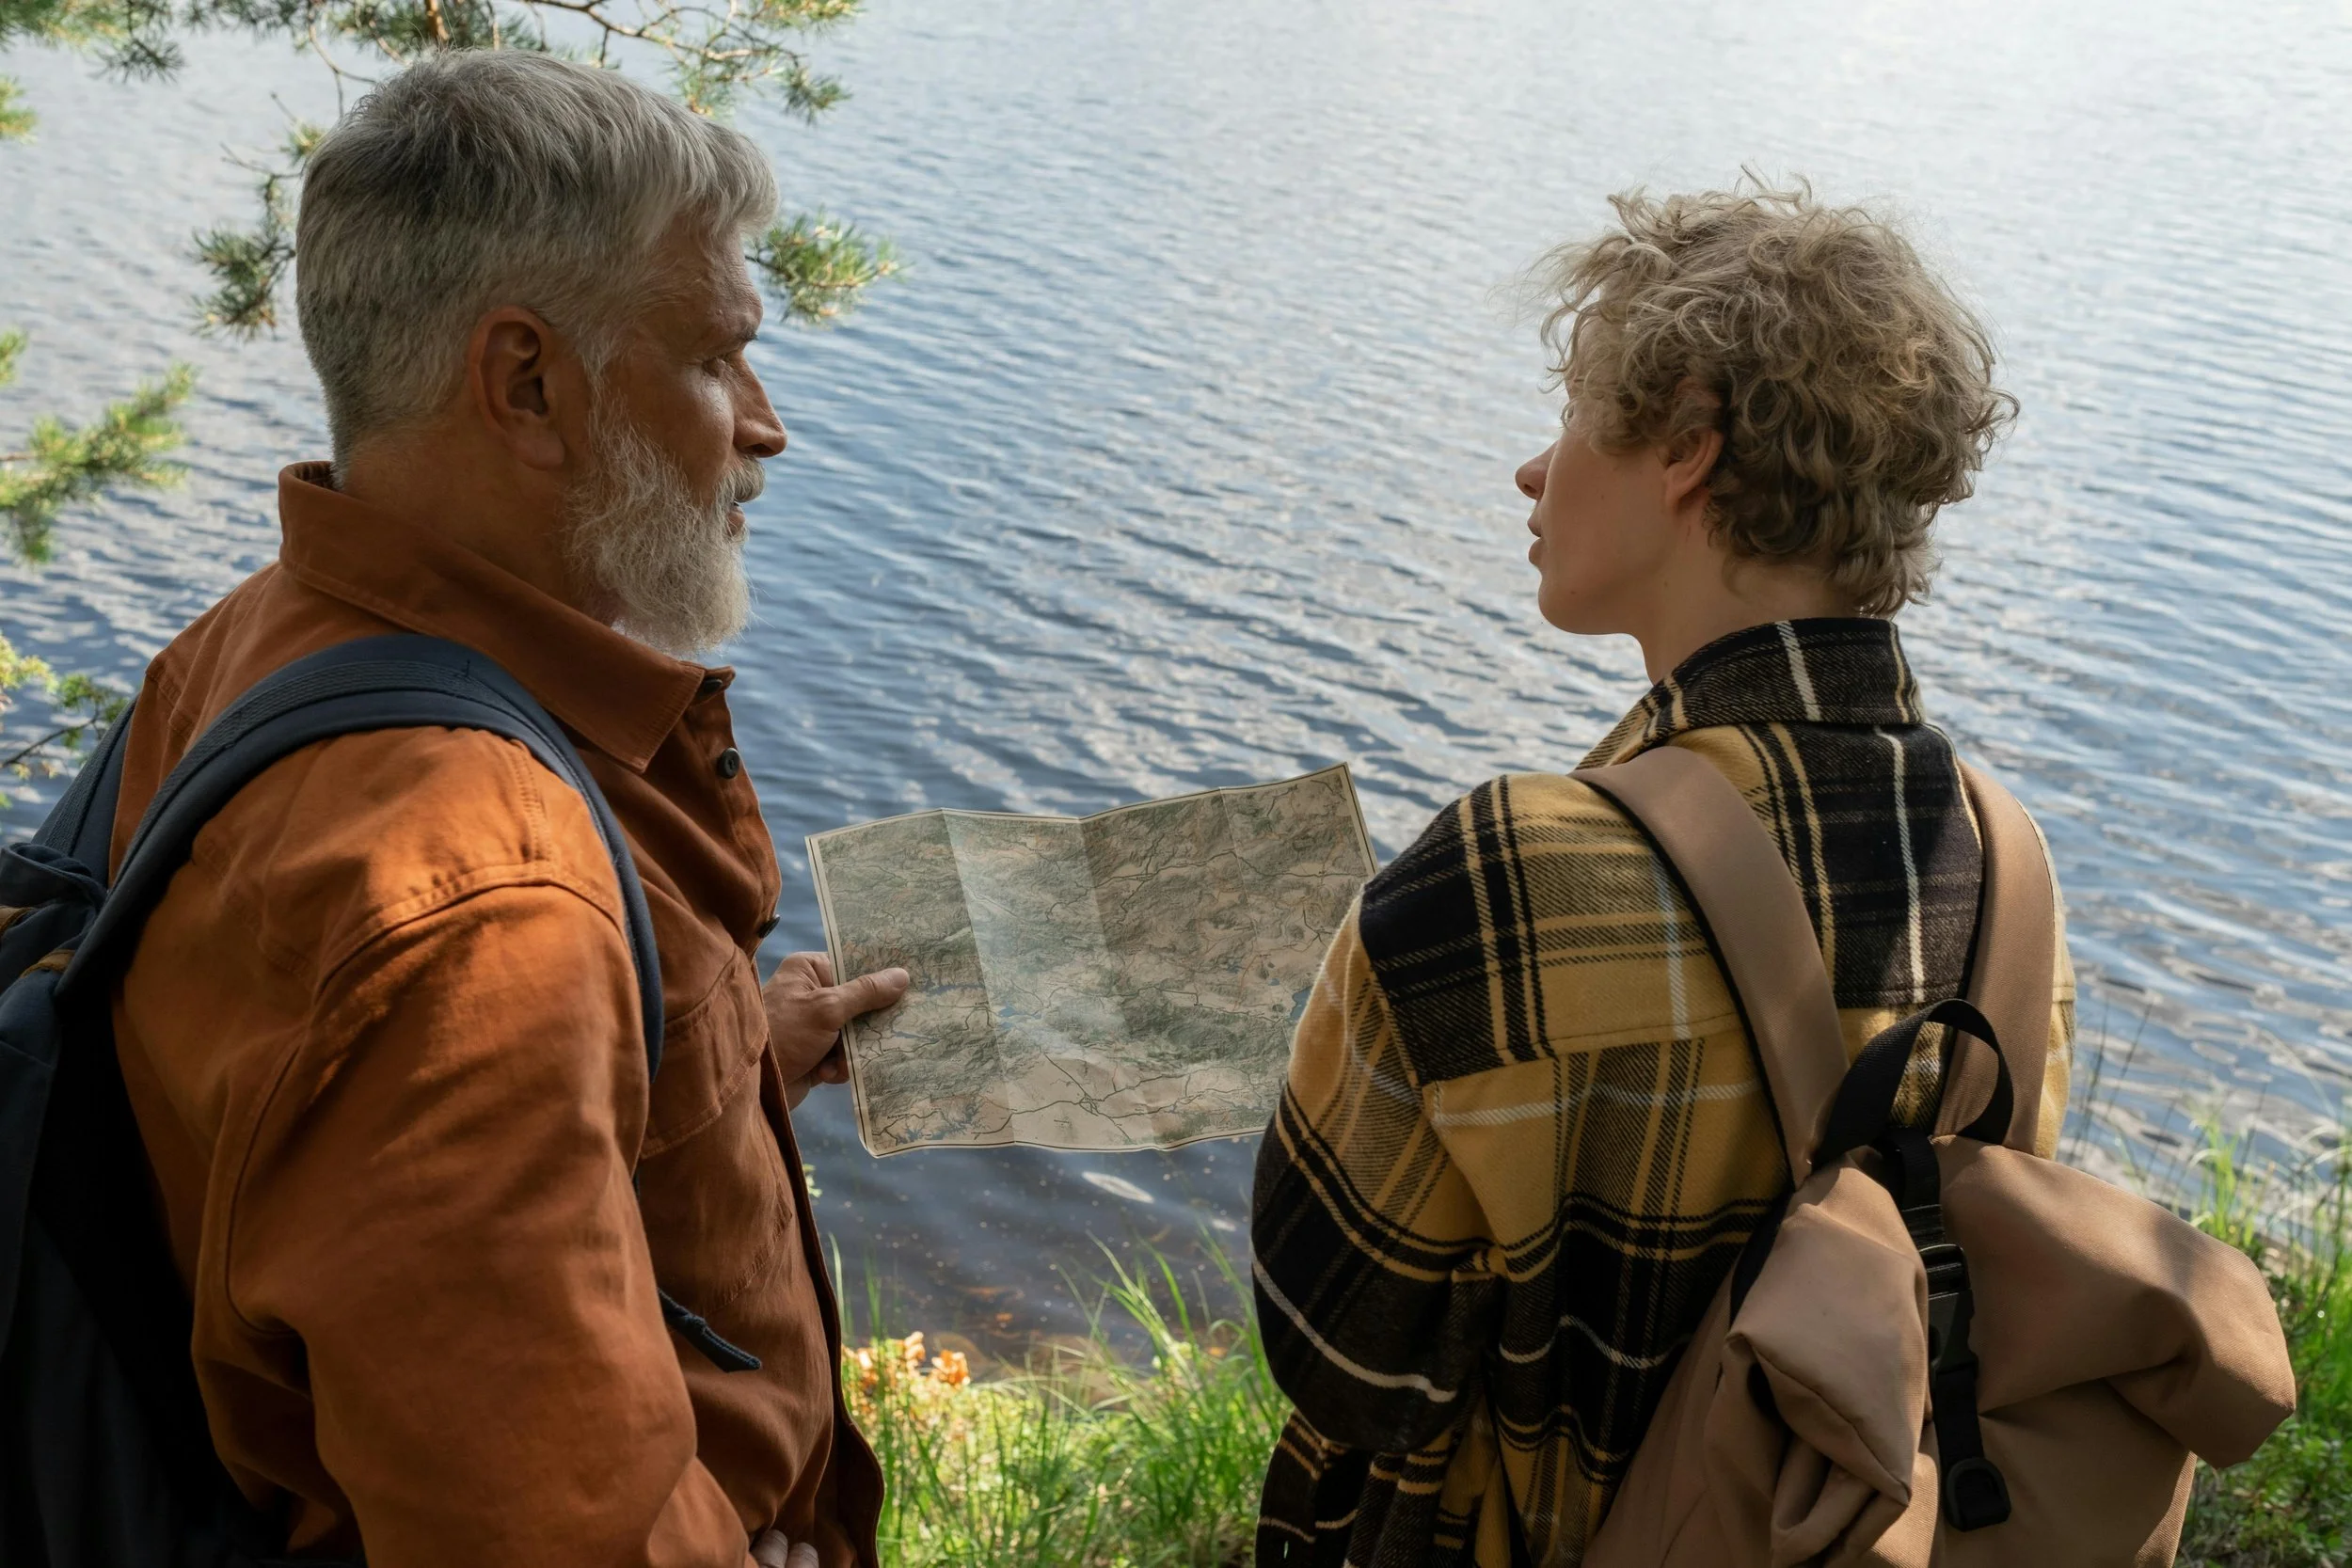
Don’t (only) rely on your phone. While navigation tools have come an incredibly long way over the last decade, having an analog backup is still essential. In addition to your digital GPS app or device, always carry a paper map of the area you’ll be exploring along with a compass - and learn how to use them. Check out our online navigation course, here.
Know your route and conditions. Familiarize yourself with your route in advance - before you even step foot on the trail. In addition to your planned route, you should also review exit points and other trails in the area. We also suggest reading recent trail reports to be aware of any blowdowns or washouts. Be sure to check the relevant weather and other conditions (such as avalanche or water level) as well.
Share your return time. Successful SAR missions are often the result of someone reporting an overdue hiker quickly and providing specific information on the subject’s planned route. Whether you’re traveling solo or going with a group, it’s always a good idea to tell a friend or family member at home where you’re going and when you’ll be back.
There are also things you can do while on the trail or water to reduce your risk of getting lost.
Increase your awareness. It may seem obvious, but pay attention to your surroundings! Make a mental note of landmarks that you pass and consider mentioning them out loud - to your fellow group members or even to yourself. This will help commit these waypoints to memory and will make it easier to backtrack or describe your position if you do find yourself off route.
Take photos. Many folks enjoy taking photos to either share or keep for their own memories, but they can also serve as breadcrumbs, recording landmarks and time markers. If you get lost, you can use photos to help backtrack or to describe your position and timing to rescuers. Be sure to read the section below on when to backtrack and when to stay put.
Deal with small problems before they get big. If you do identify a small problem - a trail is closed, you’re moving slower than you planned, you’re low on food or water - stop and address it. In the outdoors, small issues can increase in seriousness quickly and often compound on one another. If you think you should turn back because of a delay or unforeseen roadblock, do it. Don’t be afraid to speak up if you’re not feeling confident in a group decision.
If you realize you’re lost, the first thing you should do is stop and reassess. Photo by Ron Lach.
What to Do If You’re Truly Lost
Stop and Assess
Despite the best planning, things do happen. If you do realize you’re lost, the first thing you should do is stop. It’s likely that adrenaline may be high and your first instinct may be to react. This is why taking a moment to breathe and look around is essential.
Consider using a grounding technique to get yourself in the right frame of mind to make good decisions - square breathing, tuning into your senses, making a list of what you see, or simply counting to 100 can all help create a sense of calm.
Consider Backtracking
Once you’ve grounded yourself, you may be able to make a plan to backtrack to a previously encountered trail crossing or landmark. However, be sure to consider these questions:
Can you clearly see the trail? If you were following a marked or social trail and can follow it clearly, backtracking may be a good option. However, if you were off trail or bushwhacking, trying to backtrack will likely result in getting more turned around.
Can you clearly follow your steps? If you’re hiking in snow or mud, you may be able to easily identify where you came from and follow your own marks back. However, if you lose your trail or are unsure if the steps are yours or someone else’s, this may not be the best option.
Can you identify a landmark with certainty? Trees, rocks, streams, etc can often look alike. However, if you have a clearly identified landmark (such as radio tower, lake, bridge, etc) that you can see and remember passing, you may consider returning to it to reassess.
If you can confidently backtrack to a familiar crossing or location, do so. Once you arrive back to your planned route, take a moment to take out your map and make a clear, verbalized plan to return to the trailhead or end point.
If you cannot answer yes to one of the above questions, stop and stay put.

If you can’t safely backtrack, it’s time to call for help.
Assess, Activate Help, and Ensure Your Safety
Once you’ve made the decision to stay put, the next step is to assess the area and make yourself safe.
First, look around for physical hazards such as tree branches hanging overhead, potential rockfall, avalanche danger, flood danger, etc. If you are in an area that seems unsafe, you may need to adjust your position slightly to get to a safer place. If you do move, consider marking your path by tying flagging type or brightly colored cord to trees (if it’s safe to do so).
If you have a device to activate for help, now is the time to do so. This may mean calling 911, activating an emergency beacon, or using a satellite messaging device. In the absence of any of those devices, you may simply yell for help or blow 3x on an emergency whistle at regular intervals.
For more information on backcountry communication devices, check out our previous blog post, here.
As soon as you’ve established a safe position and activated help, tune into your physical needs. You may be waiting for rescue for some time, so staying warm, well fed, and hydrated is key - and carrying the 10 essentials will ensure that you can do just that. Take a preventative approach and try to stay ahead of getting cold or hungry by attending to needs in advance.
If you can safely build a fire, this can help provide warmth and work as a signaling method as well. However, only do so if you’re familiar with building fires and can ensure it will stay controlled.

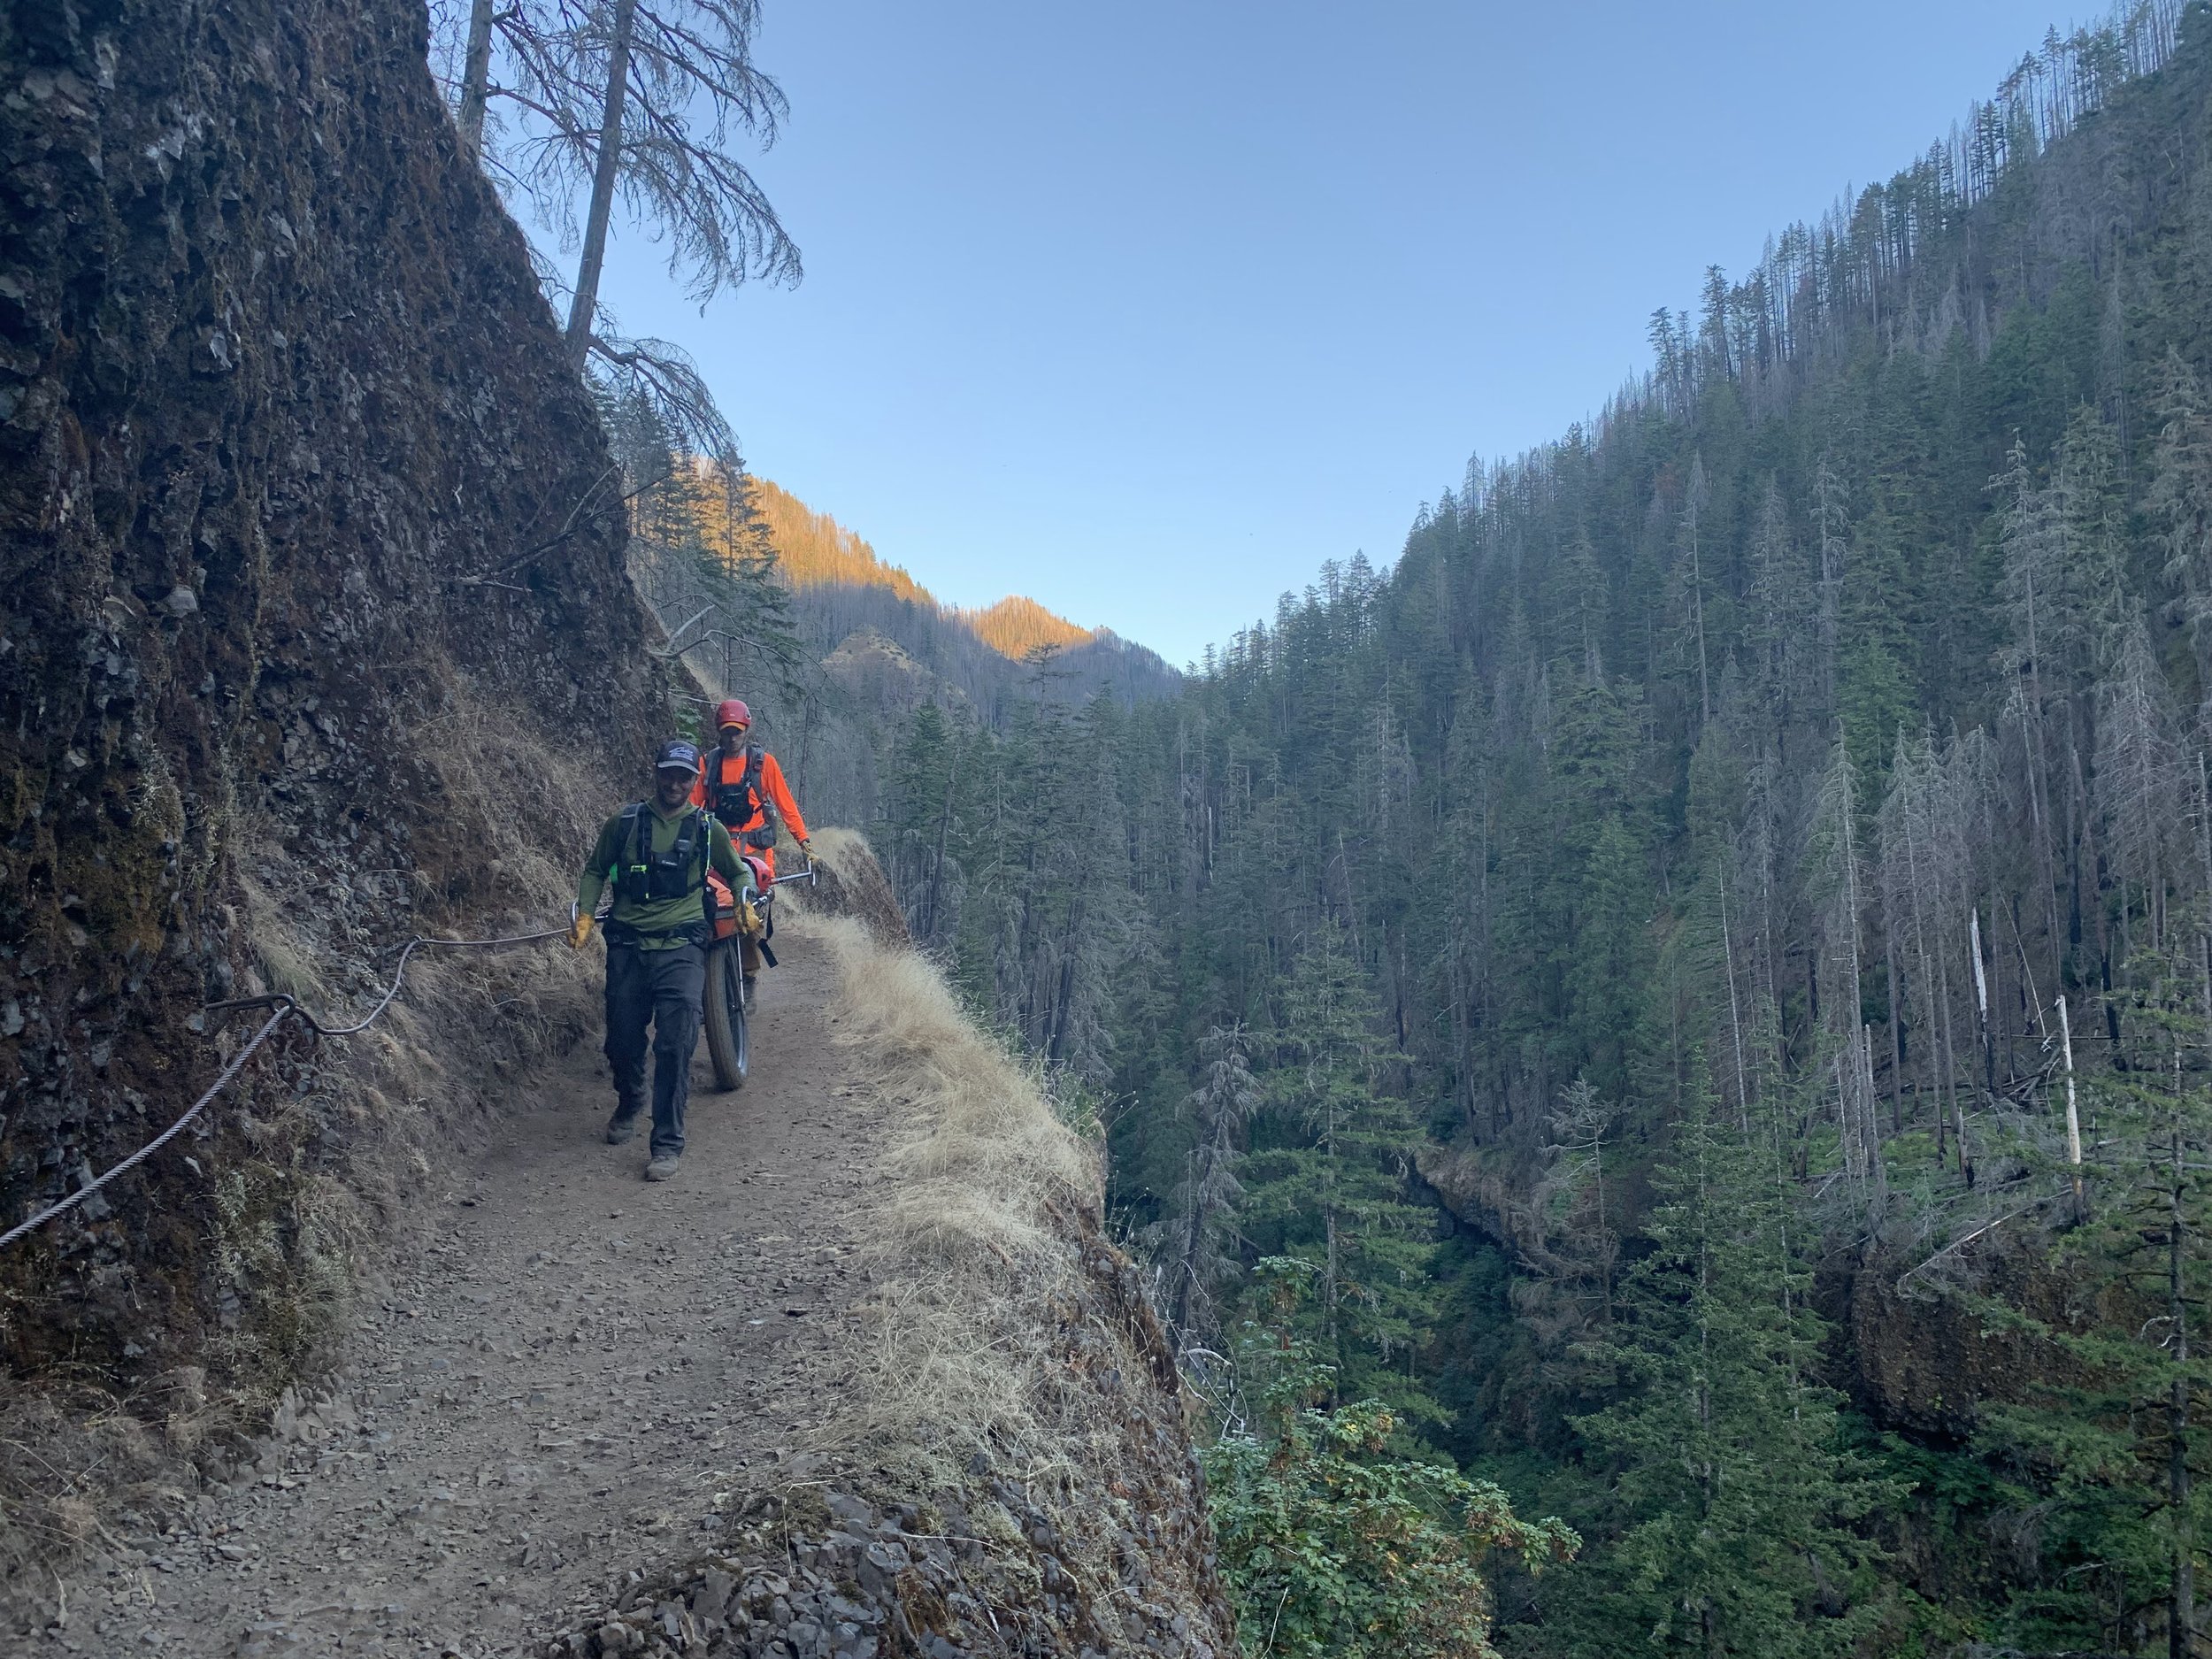
SAR teams include highly trained searchers, but you can help by making yourself easy to find. Photo by Lauren Skonieczny.
Make Yourself Visible (and Audible)
Once you’ve settled into a position, there are several things you can do to increase your chances of being found.
First, consider utilizing any brightly colored or reflective items you have. Hanging a bright article of clothing or gear on a tree (for ground searchers) or in an open space (for air searchers) can help increase your chances of being spotted. If you need to sleep or shelter yourself from elements, this is especially important to do.
If it’s daytime and the sun is out, you can use a mirror to send a signal to overhead aircraft or nearby personnel. Many compasses do come with mirrors which can be used for signaling, but it is important to know how to use them most effectively. You can see step by step instructions here.
Once the sun goes down, you may also consider using a flashlight or headlamp to signal searchers. SAR teams do often continue searching at night and the availability of illumination for both searchers and subjects can make night searches quite successful. Stay aware of your surroundings and if you need to sleep, consider putting out reflective clothing or gear or even leaving out a signal light (being sure to consider your battery use and availability).
During both day and night, you can also continue to shout or blow your emergency whistle regularly so any teams in the area have a good chance of hearing you. If using a whistle, three clear trills is the the universal sign of distress. If shouting, use the word “help” so the listeners know that it is someone in need of aid.
SAR teams can use your help! Donate to or volunteer with a local team to show your support. Photo by Lauren Skonieczny.
Support Search and Rescue
The successful rescue of tens of thousands of subjects of each year is thanks to the extensive training, planning, and work of SAR teams across the country. Whether professional or volunteer, these rescuers spend countless hours on missions and often give their own time and money to help those who find themselves lost or injured outdoors.
If you’d like to support Search and Rescue, consider finding your local team and making a donation or volunteering your own time. Even if you’re new to the outdoors or unable to participate in field missions, teams often need volunteers to help with logistics, fundraising, and other supportive roles.
To learn more about outdoor safety or search and rescue, be sure to follow @base_medical on Instagram and check out our full listing of courses at base-medical.com.
Stay safe out there!